Microsoft Azure has been a popular platform for various kinds of cloud computing for years and, more specifically, Azure DevOps Services cater to developers and their DevOps teams very specifically, weaving tightly into an organization’s software supply chain and lifecycle.
As with any cloud-based solution, security must always be the topmost concern. Today, we will offer some best practices for securing your code within the Azure DevOps platform so as to ensure you get the most benefit out of the service without unnecessarily putting your code at risk.
Authentication & Access
The Azure DevOps web platform defaults to leveraging Microsoft accounts for authentication, which means you’ll need to login to your own Microsoft account in order to configure account-level security controls.
When a user first logs on, an Active Directory organization is automatically created for them, which you should connect your organization in order to support more advanced login restrictions. Doing so will enable you to create policies safeguarding access to the organization. (For example, if your organization has its own internal Active Directory service, then you can integrate it with Azure’s Active Directory.)
Let’s review some of the most important advanced security settings.
Multi-Factor Authentication
Multi-factor authentication, or MFA, is the most basic security feature available. It should be a company’s de facto policy to require all employees and contractors use MFA.
Assuming you have an Azure Active Directory already setup, do the following:
- Login to Azure (the main Azure portal, not the Azure DevOps portal).
- Select the Azure AD Conditional Access service. (The easiest way to find it is by navigating into Azure services, then using the “all services” search bar.)
- Under the Conditional Access menu, you can define policies regarding access and authentication. For example, if you wanted to require MFA for all users, you could enable the “Require MFA” policy and configure it like this:
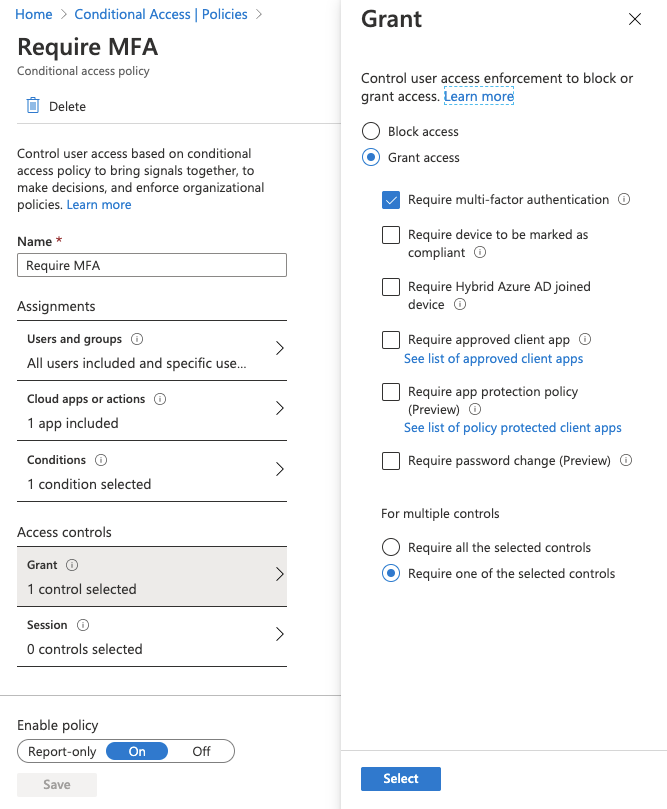
A detailed explanation of how to create a MFA rule for all users can be found here.
Limit Access by Location
You can also set policies to limit access to specific locations. Simply login to Azure and navigate to Azure AD Named Locations.
For example, you can configure a location so that MFA is not required for internal (intranet) IP addresses:

Single Sign-On
Security Assertion Markup Language (SAML) for Single Sign-On (SSO) is available within the Azure ecosystem. If you’re familiar with SAML SSO, you know it’s an excellent option for helping ensure secure user logins across the organization. Since Azure AD itself serves as the Identity Provider, there is a wide range of simple to advanced SSO configuration options available. Azure’s official reference guide offers more information.
Project and Repository Access
Permissions in Azure, applied to a user or a group of users, is determined by both the access level and security group assigned to a user.
Access Levels & Security Groups
You must first select whether a newly added user to your organization will be granted Basic or Stakeholder permissions. The Basic and higher access levels support full access to all Azure Boards features. Stakeholder access provides partial support to select features, allowing users to view and modify work items without having access to all other features. Stakeholder access is available to support free access to a limited set of features by an unlimited number of stakeholders. Check here for more details.
Project Permissions
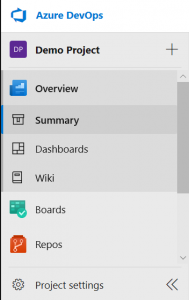
Once you have created an Azure DevOps project, you’ll find project settings at the bottom on of the left-hand menu in your DevOps dashboard:
Next, you’ll next find a Permissions menu item under the General section:
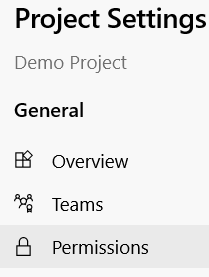
Here we can find the security groups discussed in the previous section:

We can edit the permissions of a user or group of users. Permissions are divided into General, Boards, Analytics, and Test Plans, each section controlling the relative permissions. When you select a group, you’ll be taken to the following settings specific to that group:

Check here to learn more about these various permissions.
Repository Permissions
While we’re in our project settings, let’s next turn our attention to the “Repositories” menu item, found in the left-hand menu under the “Repos” section.
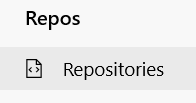
Here we’ll find repository access permissions specific to the current project. We can tweak many permissions here, not least of which are settings for who can view and modify the repository’s content:

Granular permission controls can be configured according to the project’s needs, which you can read more about here.
Leak Prevention
Disable Forking
Forking is the act of creating a copy of the repository to allow developers a safe environment where they can experiment on the code without affecting the original.
There are two main issues with forking from a security perspective. First, the more forks there are for a repository, the harder it is harder to keep track of each fork’s security. This challenge grows exponentially the more forks a repository has. Second, a user can easily fork a copy of a repository to their own private account.
Forking can be disabled via the project’s repositories settings. Simply select the repository and toggle the “Forks” setting to “Off”:

Group and Project Visibility
Azure DevOps allows controlling project visibility through two main mechanisms.
First, you’ll find a “Visibility” setting at the top level of your project settings, via the Overview menu item under the General section. You may set visibility here to public or private:

You can learn more about project visibility here.
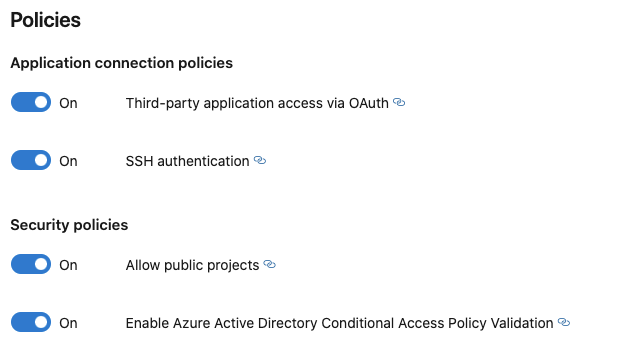
Second, you can disable public projects altogether at the organization level by first navigating to the Organization Settings, then to Policies (under the Security section). Here, you may disable “Allow public projects” by toggling the button to “Off”, thus disabling support for all projects across the organization.
Tempering Protection
Protected Branches
Azure DevOps supports creating branch protection policies, which protect the code committed to the main branches. (We’re a big proponent of using protected branches, which we’ve covered for other services.)
The most basic policy you should always have enabled pertains to prohibiting any code changes without first undergoing a review. The “Require a minimum number of reviewers” setting ensures that every piece of code committed to the main branch is reviewed by at least one other developer.
To configure this and other related policies, navigate to your project settings, then to the repositories menu. Next, select the repository you want to set policies for. Navigate to the Policies tab, scroll to the Branch Policies section, then select the branch you want to set a policy for.

Once the branch is selected, you can toggle on the policies you want to enforce:
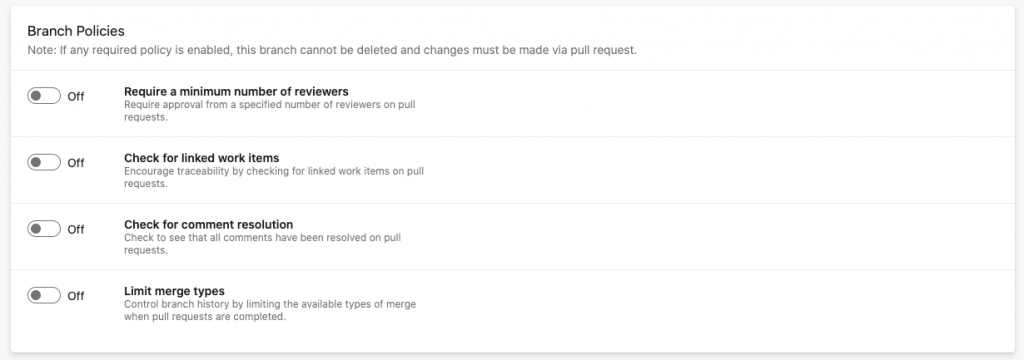
(If you would rather set branch protection policies for all of a project’s repositories at once, switch over to the Policies tab without selecting a specific repository, then scroll down to the “Branch Policies” section.)

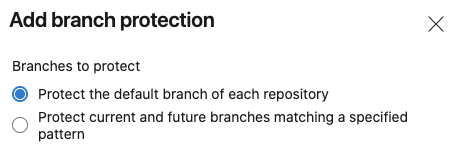
Use the “+” button to create a new policy, at which point you’ll be presented the option to either protect each repository’s default branch or all current and future branches of all repositories that match a certain pattern:
Before moving on from Repository Policies, take note of some other potentially useful policies found here. “Commit author email validation” requires developers use their corporate email when committing. “File path validation” may be utilized to protect the repository from commits that include sensitive content.
Finally, navigate to the Permissions tab to designate who can bypass currently enabled policies. These settings can be found on the far right-hand side of the screen:


